The Dynam Mini Spitfire V2 DY8930 build include the steps below:
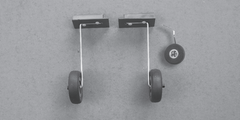
Dynam Mini Spitfire Specification
Wingspan: 900mm/35.43"
Overall Length: 762mm/30"
Flying Weight: 980g/34.56oz
Wing Loading: 31.6g/dm²
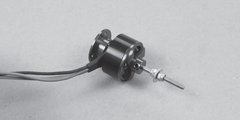
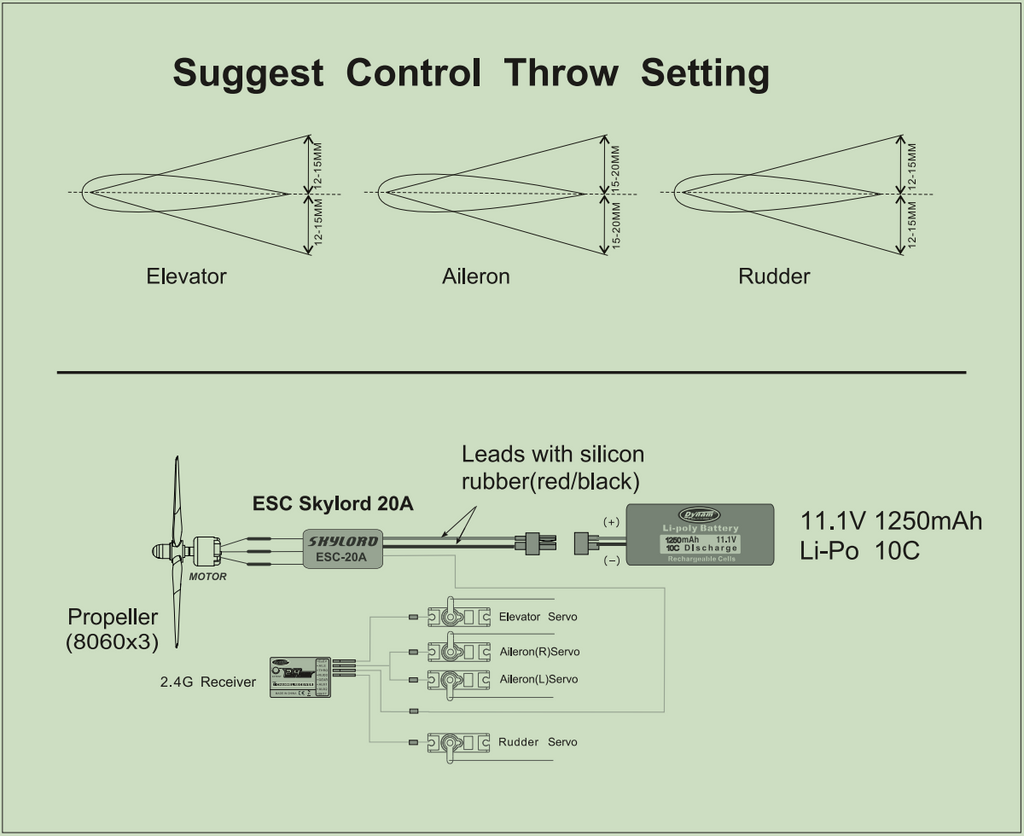
Motor: 1080KV brushless outrunner
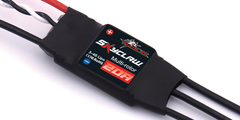
ESC: Skylord-20A ESC
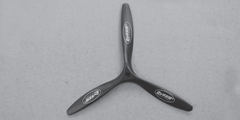
Prop: 3-blade prop 8*6*3
Servo: 4x 9g micro servos
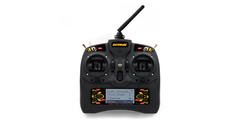
Tx: Gavin 6C 2.4Ghz
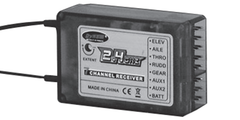
Rx: 6CH 2.4Ghz
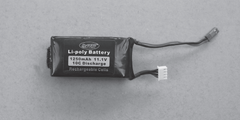
Battery: 11.1V 1250mAh Li-Po 15C
Aileron: Yes
Elevator: Yes
Rudder: Yes
Flaps: No
Material: EPO Foam
Mini Spitfire Spare Part List
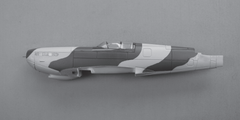 SPF-001 Fuselage |
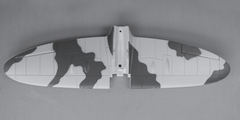 SPF-002 Wing Set |
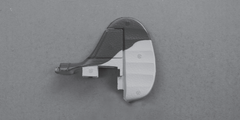 SPF-003 Vertical Stabilizer |
|
SPF-004 Elevator |
SPF-005 Landing Gear Set |
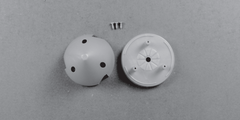
SPF-006 Spinner |
|
DYP-1015 8*6*3 Prop |
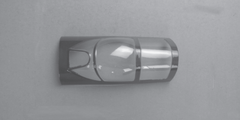
SPF-008 Canopy |
BM2810CD-KV1080 Motor |
|
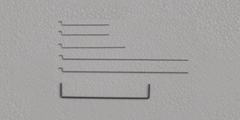
SPF-010 Push Rod |
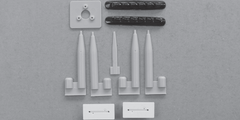
SPF-011 Plastic Set |
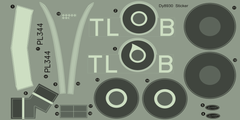
SPF-012 Decal |
|
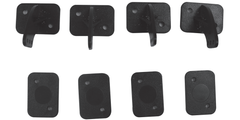
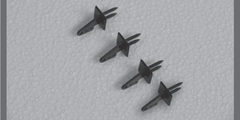
SPF-013 Plastic Tab |
SPF-014 Motor Mount |
SPF-015 Cockpit |
|
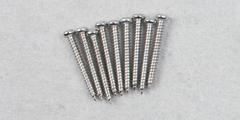
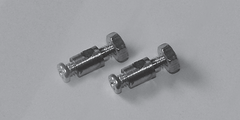
SPF-016 Screw Set PA2.3*20 |
DY-6001 11.1V 1250mAh 15C |
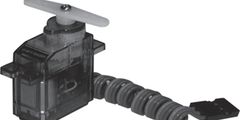
DY-1006 9g Servo |
|
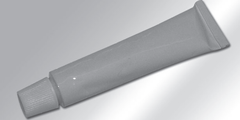
DY-3003 Epoxy Glue |
Skylord-20A |
DYR-2001 2.4G Receiver |
|
DTM-T006 Gavin 6C Transmitter |
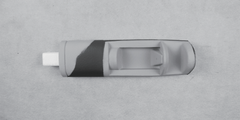
DY-3001 Quick-controller |
DYAT-008 Servo Horn |
Mini Spitfire Assembly
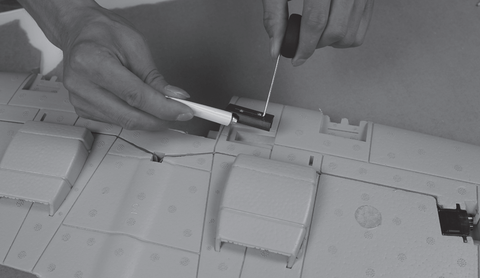 1. Apply the foam glue on the nose landing gear and glue it in position. |
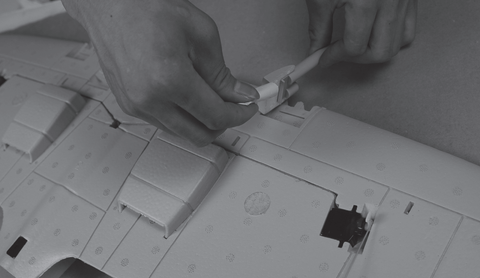 2. Apply the foam glue on the scale plastic parts and glue them in position. |
 3. Connect the aileron servos with Y wires. |
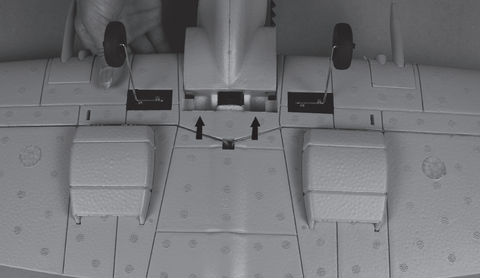 4. Locate the wing in place. |
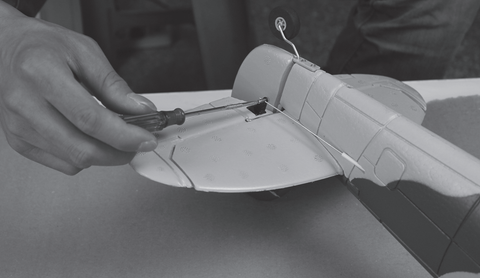
 5. Fix the wing on the fuselage w/ a PA2.3*20mm screw. |
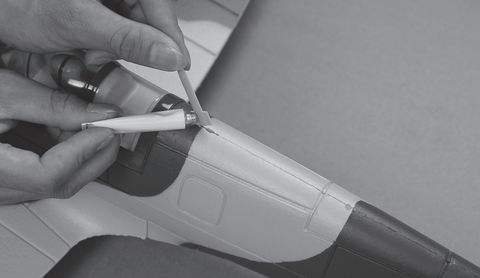 6. Install the scale antenna set using glue. |
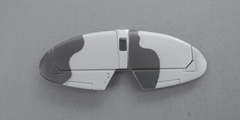
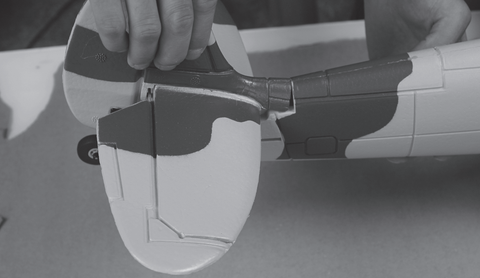 7. Insert the horizontal & vertical stabilizer in place. |
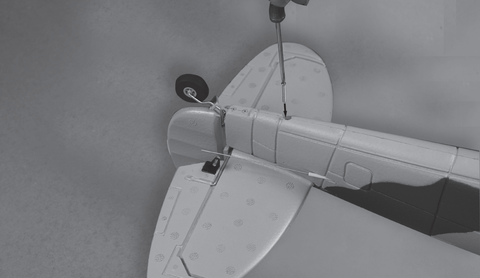 8. Fix the stabilizers with a PA2.3*20mm screw. |
|
9. Install the tail wheel with PA2.3*20 screws. |
10. Insert the pushrod into the elevator quick-controller&tighten the screw |
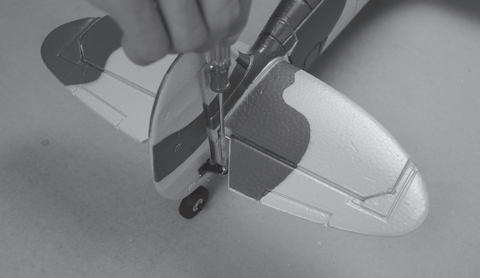 11. Repeat the steps for the rudder. |
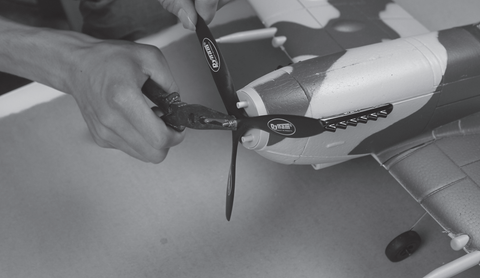 12. Install the propeller. |
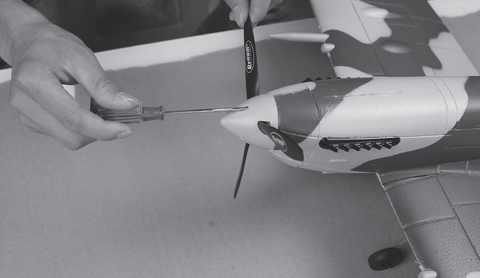 13. Install spinner with PA2.3*20 screws. |
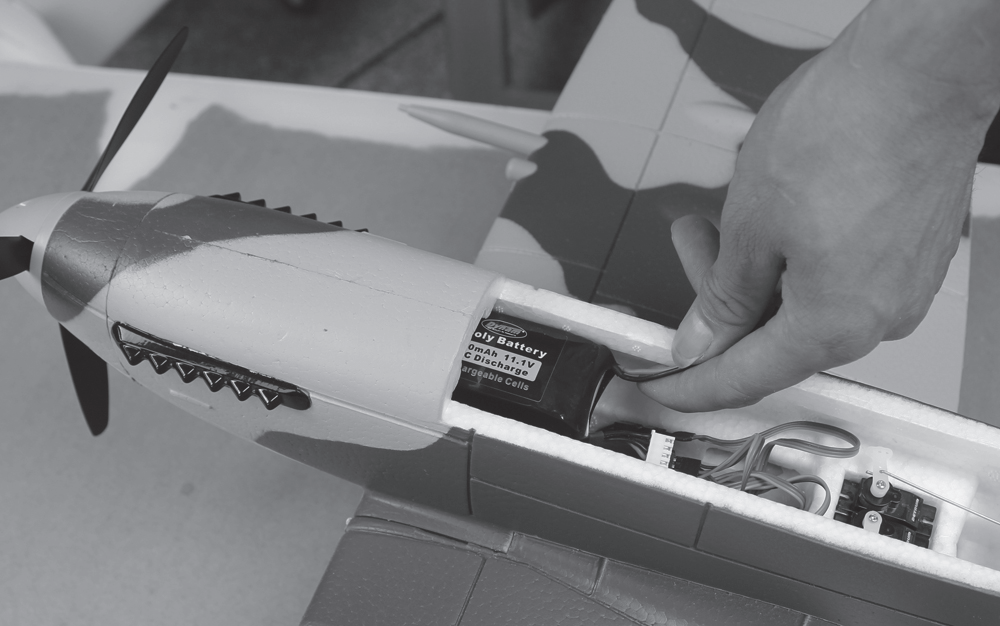
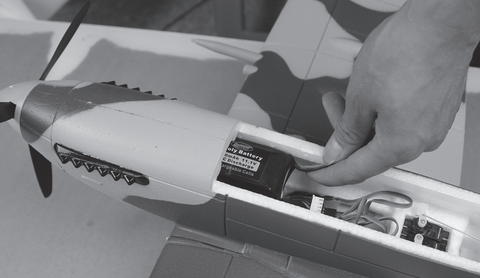 14. Put the battery in position. |
Mini Spitfire Decal
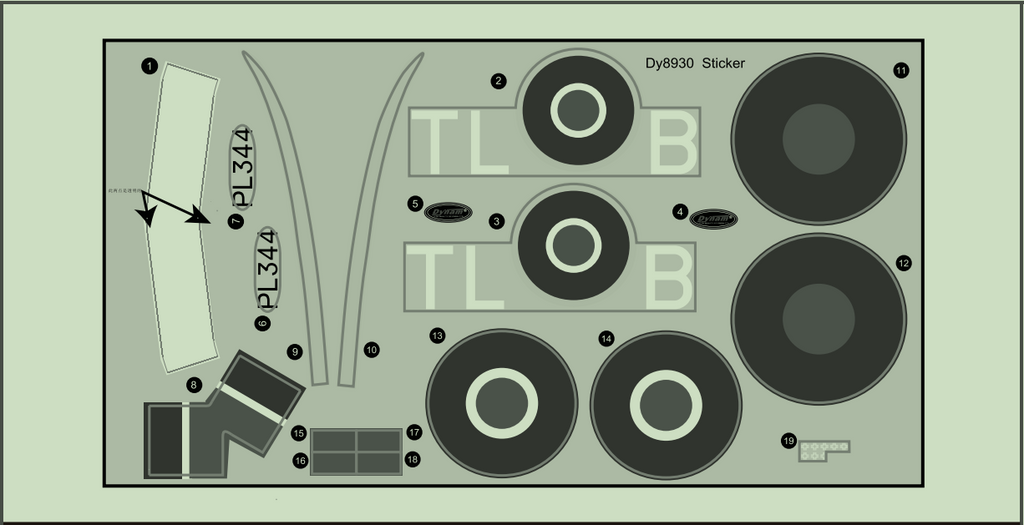
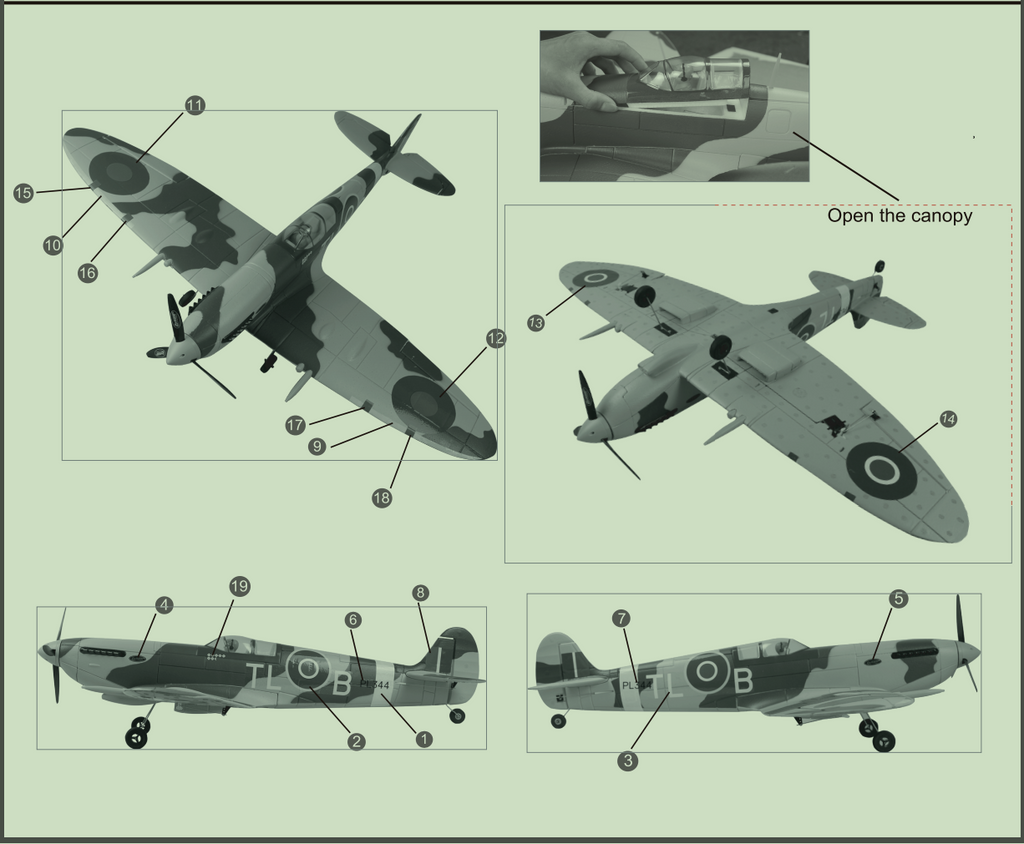
Directions for Mini Spitfire Assembly & Adjustment
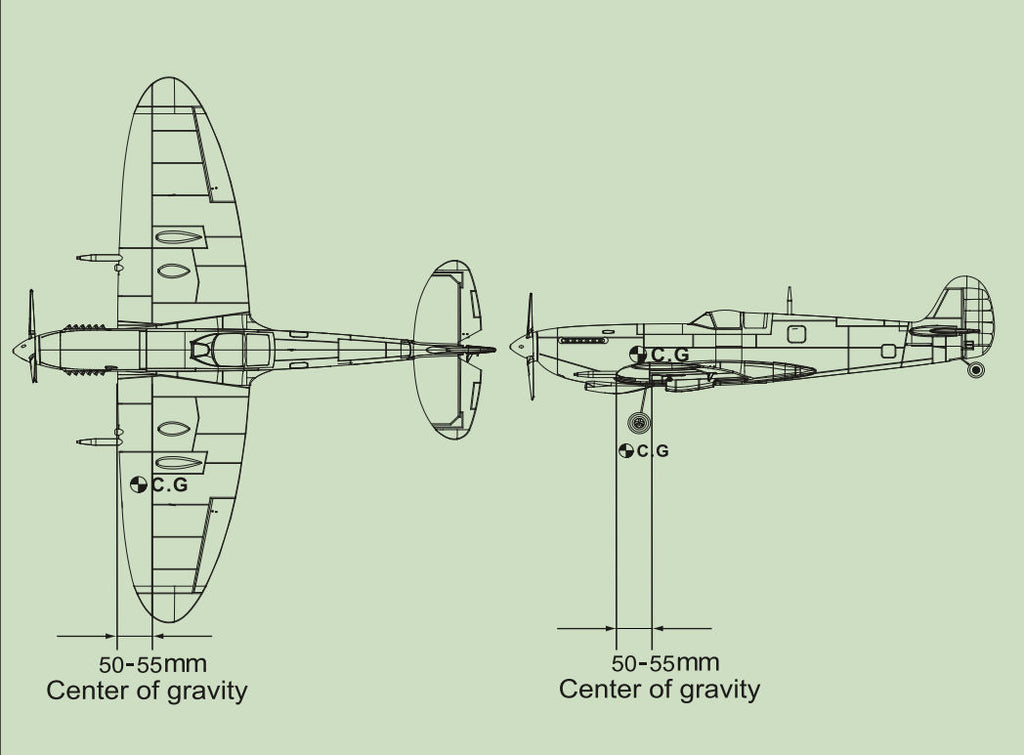
CENTER OF GRAVITY(C.G.)
The ideal C.G. position is 50~55mm behind the leading edge, measured where the wing meets the fuselage. Add weight to the fuselage or move the battery position to obtain the C.G. specified. Check the C.G. before flying.
